


Logo Design
Logo Presentation Template: Tips & Examples in 2026
Published on Jan 27, 2026
In the world of graphic design, presenting your logo concepts to clients is just as crucial as creating them.
A well-crafted presentation can make the difference between a satisfied client and a confused one.
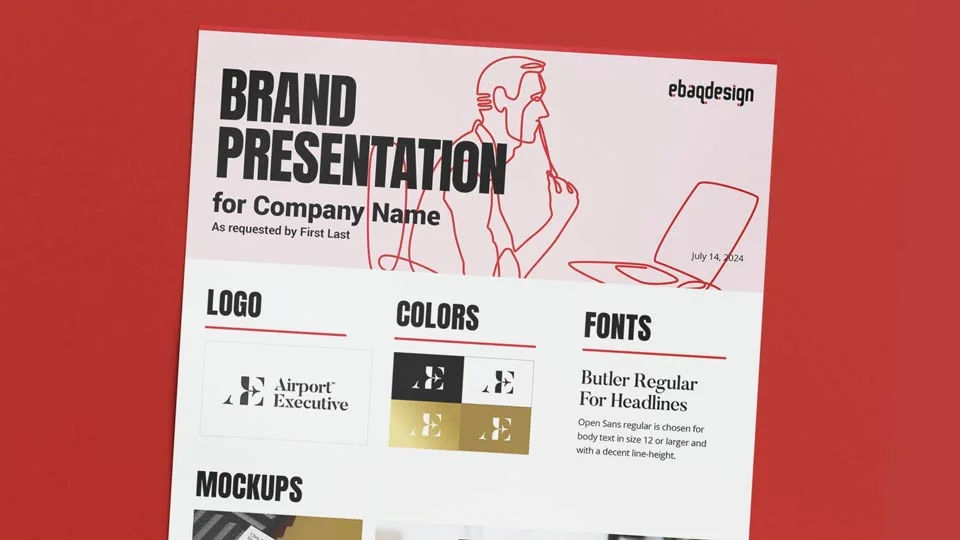
This article will guide you through my simple yet effective one-page template.
It will help you streamline your process and elevate your design business.
BTW. This template is a part of my 3-template bundle.
The Power of a One-Page Template
For quick logo design projects, a concise, one-page presentation template can be a game-changer.
This approach focuses on the essentials: the logo itself, color schemes, typography, and a few key mockups.
More extensive projects might require a multi-page template to present multiple concepts (I usually present up to 3 concepts).
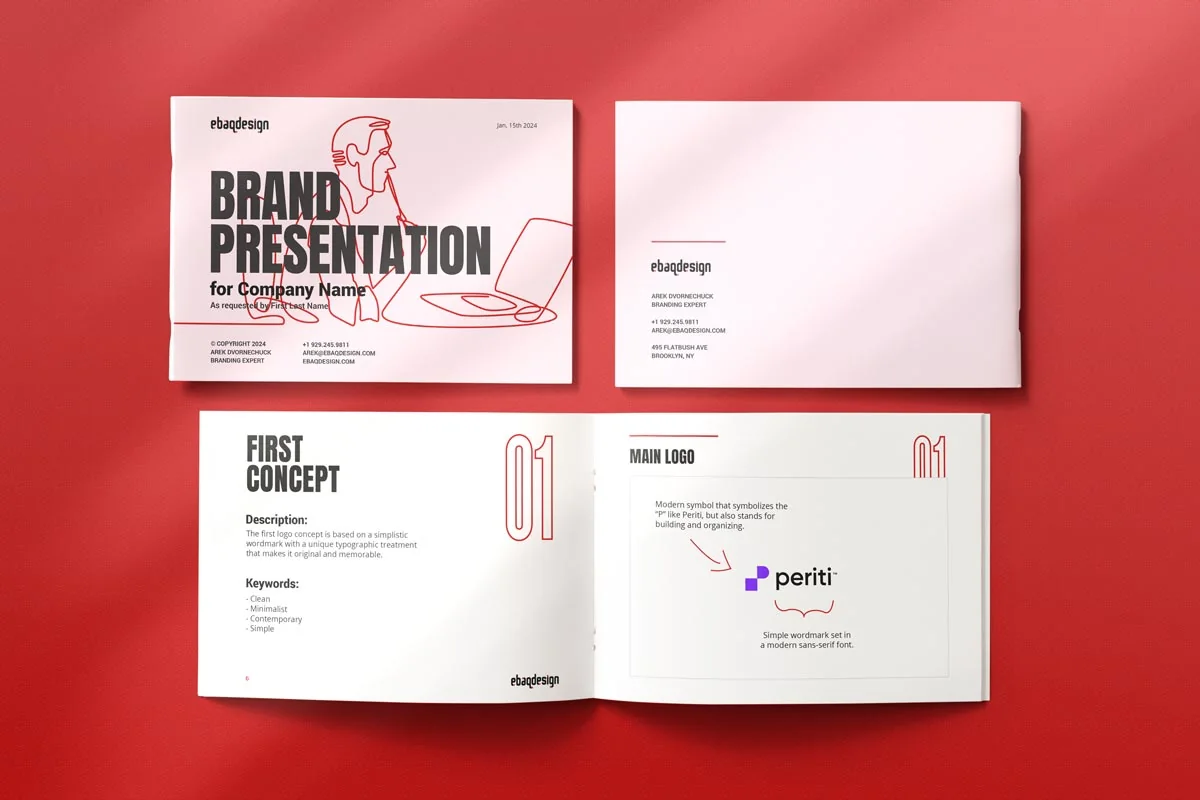
However, this streamlined version is perfect for smaller jobs or initial presentations.
Key Components of the One-Page Template:
- Logo showcase
- Color palette
- Typography selection
- Essential mockups
My Fully Customizable Logo Presentation Template
One of the greatest advantages of using a template is its customizability.
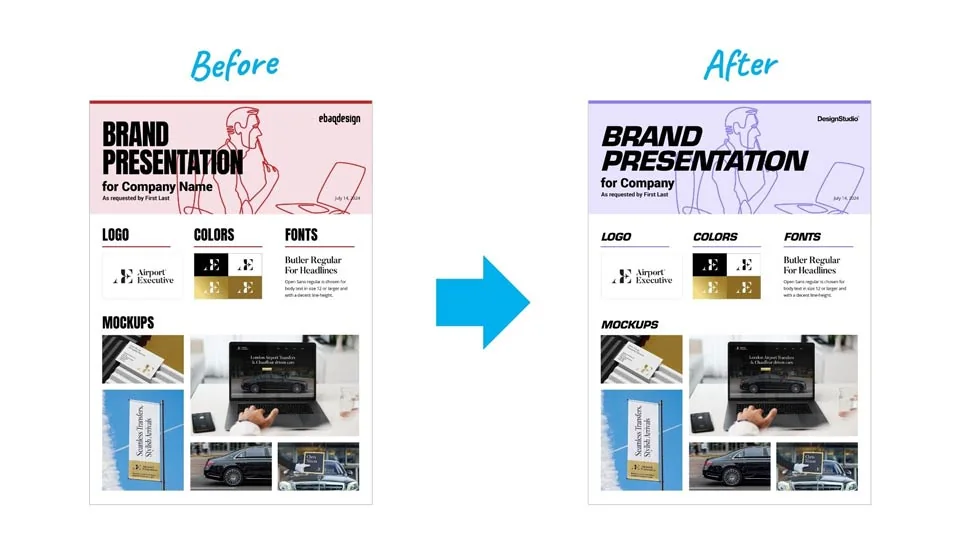
You can easily adapt the template to reflect your brand and design aesthetic.
Here's how:
- Adjust colors to match your brand identity
- Change fonts to align with your style
- Replace placeholder logos with your own design
This level of personalization ensures that your presentation not only showcases your logo design but also represents your design business professionally.
Efficient Workflow: Cloud Publishing and Easy Revisions
To maximize efficiency, consider these steps:
- Create your logo design in Adobe Illustrator
- Prepare a white version of your brandmark for color demonstrations
- Set up your chosen typefaces
- Add mockups to showcase the logo in various applications
- Publish the completed presentation to the cloud
By publishing to the cloud, you can simply send your client a link to the PDF (Publish it directly from InDesign to the cloud).
This approach offers two significant advantages:
- Easy access for clients
- Simple revision process
If your client requests changes, you can update the linked Illustrator and Photoshop files within your InDesign document.
This streamlined workflow makes revisions quick and hassle-free.
Preparing Your Logo Presentation: A Step-by-Step Guide
- Create Your Logo File: Develop your primary logo and a white version of the brandmark in Adobe Illustrator.
- Set Up Typography: Choose and showcase the typefaces that complement your logo design.
- Prepare Mockups: Select and add relevant mockups to demonstrate how the logo will look in real-world applications.
- Finalize and Publish: Once everything is in place, publish your presentation to the cloud.
- Quality Check: Always double-check your published presentation to ensure everything looks perfect before sending it to your client.
- Share with Your Client: Send the cloud link to your client for easy access and review.
Beyond the Logo Presentation: The Style Guide
After your logo is approved, the next step is often creating a comprehensive style guide.
This document provides detailed guidelines on how to use the logo, including color variations, minimum sizes, exclusion zones, and more.
Consider having a template ready for this stage as well to maintain consistency and professionalism throughout your design process.
Conclusion
Whether you choose to purchase my pre-made template or create your own, the key is to have a system that works for you.
By streamlining your logo presentation process, you're not just showcasing your design skills – you're demonstrating your professionalism and attention to detail.
Remember, the goal is to make your design business look good and operate efficiently.
With this simple one-page template approach, you're well on your way to achieving both.
Ready to build a brand people remember?
Tell me what you’re launching, changing, or trying to make look better.